How to Make Wax Melts at Home Step by Step
Published: 16 Sep 2026
Making wax melts at home is a simple craft project that can make your home smell warm and inviting. You can choose your favorite scent, color, shape, and style. The best part is that you can make several melts in one small batch.
This beginner-friendly guide explains how to make wax melts at home step by step. You will learn what supplies you need, how to melt and scent the wax, how to use molds, and how to store your finished melts safely.
Why Make Your Own Wax Melts?
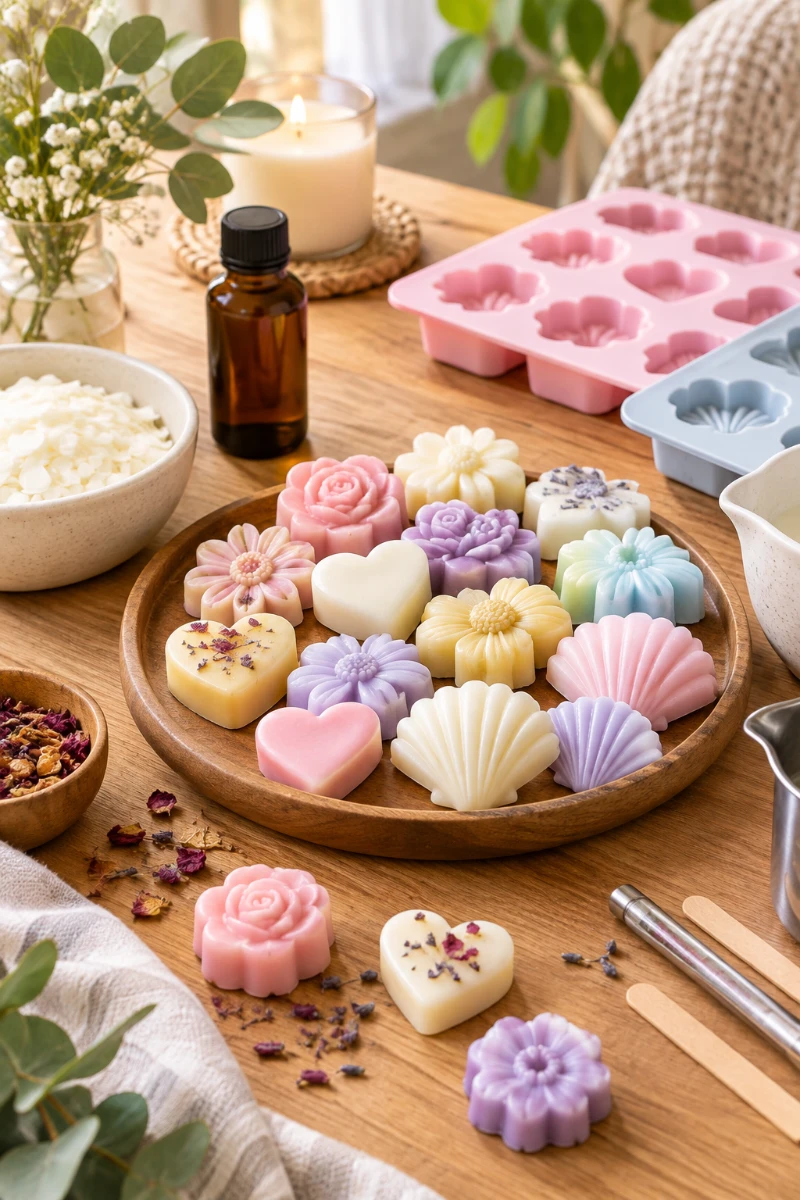
Homemade wax melts give you more control over the final product. You can pick scents that match your home and create colors that fit your decor. You can also make small batches instead of buying many different scents from a store.
This project also works well as a simple handmade gift. You can make melts for birthdays, holidays, housewarming gifts, or special events. A few scented melts in a pretty box can look thoughtful without costing much money.
Benefits of Homemade Wax Melts
Making wax melts yourself has several useful benefits:
- Choose your favorite fragrance.
- Pick your own colors and shapes.
- Make small or large batches.
- Create seasonal scents.
- Customize melts for gifts.
- Reuse suitable silicone molds.
- Control the amount of fragrance and color.
- Try different wax types.
You Need for Homemade Wax Melts
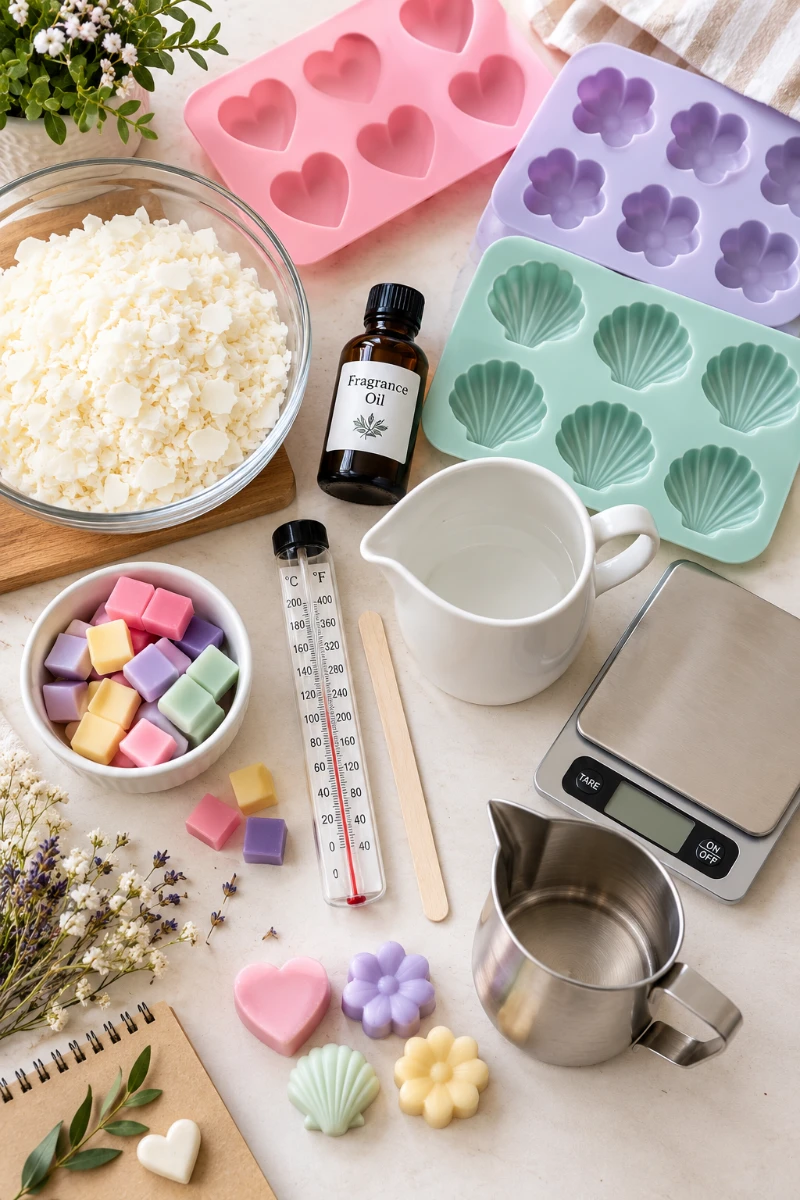
You do not need a large collection of tools to start. Most beginner wax melt projects need wax, fragrance oil, color, a heat-safe container, a silicone mold, and a way to measure the ingredients.
Good measurements help you get better results. A digital kitchen scale and thermometer can make the process easier. Choose fragrance oils made for candles or wax melts, and always follow the supplier’s recommended usage rate.
Basic Materials
Gather these supplies before you begin:
- Soy wax or wax made for melts
- Candle-safe fragrance oil
- Wax colorant
- Silicone wax melt mold
- Digital kitchen scale
- Heat-safe pouring container
- Double boiler or suitable wax melter
- Thermometer
- Stirring tool
- Measuring spoons if needed
- Paper towels for small spills
- Heat-resistant gloves
Safety Tip: Keep hot wax away from children and pets. Never leave melting wax unattended.
Choose the Right Wax and Fragrance
Soy wax is a popular choice for homemade wax melts because it is easy to work with and gives a clean, simple finish. However, waxes have different melting points and instructions, so always check the directions supplied with your chosen wax.
Your fragrance also affects the final result. Choose a fragrance oil designed for candle or wax melt use. Floral, vanilla, citrus, bakery, and fresh scents are popular choices for home fragrance projects.
Simple Scent Ideas to Try
You can create different moods by choosing different fragrance combinations:
- Vanilla and cinnamon for a warm scent
- Lavender and vanilla for a soft scent
- Lemon and orange for a fresh scent
- Peppermint for a cool seasonal scent
- Apple and cinnamon for autumn
- Pine and citrus for winter
- Coconut and lime for summer
Prepare Your Workspace Before Starting
A clean workspace makes wax crafting much easier. Cover your table with newspaper, parchment paper, or another suitable protective surface. Place every tool nearby before heating the wax so you do not need to search for supplies later.
Good airflow also matters when working with fragrance oils. Keep the area comfortable and well ventilated. Read the safety instructions for your wax, fragrance oil, colorant, and equipment before you begin.
A Simple Setup Checklist
Before heating anything, check that:
- Your work surface is clean.
- Your mold is dry and ready.
- Your wax is measured.
- Your fragrance is measured.
- Your colorant is ready.
- Your thermometer is nearby.
- Your pouring container is heat-safe.
- Children and pets are away from the workspace.
How to Make Wax Melts at Home
The process is easier when you follow each stage in order. Start by measuring your wax, then melt it slowly. After that, add color and fragrance at the correct temperature before pouring the mixture into your selected molds.
Do not rush the cooling process. Wax needs enough time to become firm and develop its final appearance. Small changes in temperature, fragrance amount, and wax type can affect the finished melts.
Step 1: Measure Your Wax
Place your empty pouring container on a digital scale and set the scale to zero. Add the amount of wax needed for your mold. Measuring by weight gives you better control than simply using cups or handfuls.
The amount of wax depends on the size of your molds. Start with a small batch if you are new to wax crafting. This lets you test the scent, color, texture, and final appearance before making more.
Step 2: Melt the Wax Slowly
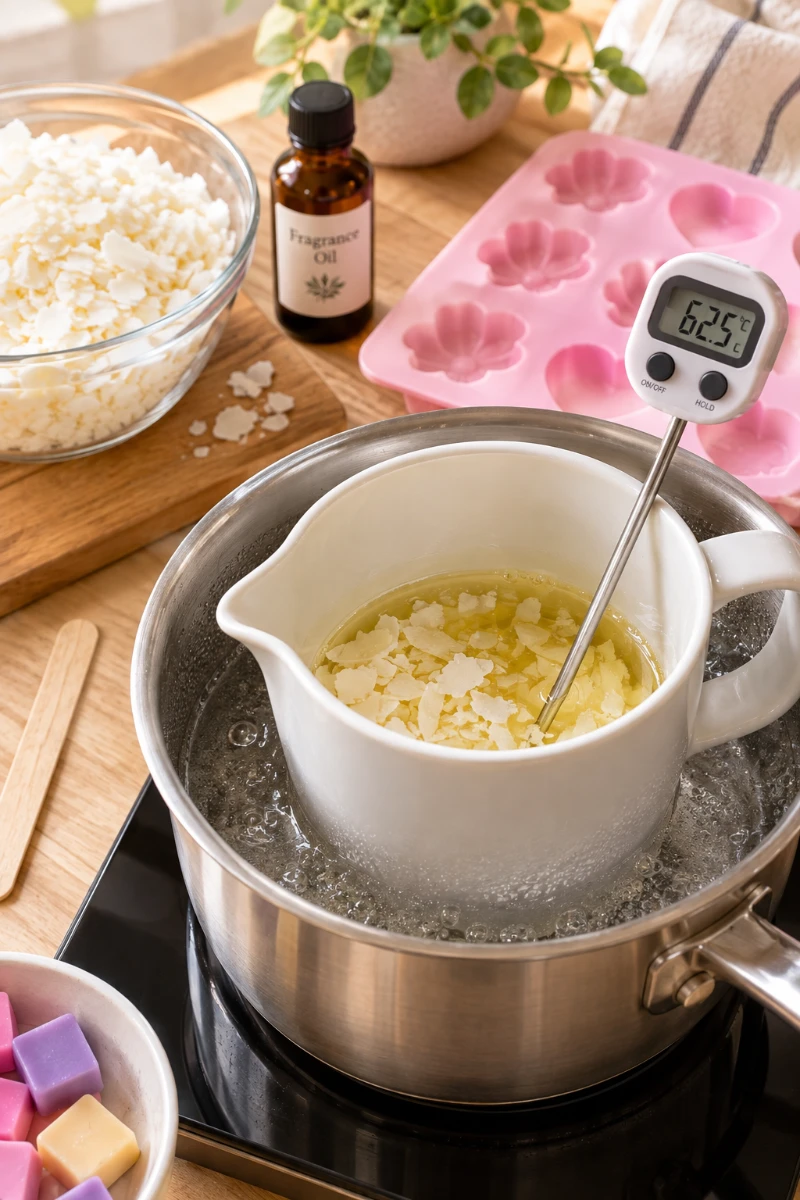
Place the measured wax into a suitable heat-safe container. Melt it using a double boiler or wax melter according to the wax manufacturer’s instructions. Stir gently as the wax begins to soften and become liquid.
Use a thermometer to monitor the temperature. Different waxes need different melting temperatures, so follow the instructions for your specific wax. Avoid overheating the wax because excessive heat can affect the final texture and fragrance.
Step 3: Add a Little Color
Once the wax reaches the recommended temperature, add a small amount of candle-safe colorant. Start with a tiny amount because you can always make the shade stronger. Stir slowly until the color spreads evenly through the melted wax.
Try soft colors for a simple home decor look. Cream, pale pink, light blue, green, and lavender can create attractive melts. Avoid adding random household coloring products because they may not work properly with wax.
Step 4: Add Your Fragrance
Let the wax reach the fragrance temperature recommended by your wax and fragrance suppliers. Add the correct amount of candle-safe fragrance oil and stir gently. Good mixing helps distribute the scent through the melted wax.
Do not add fragrance oil based only on guesswork. Follow the supplier’s recommended fragrance load. Too much fragrance can cause problems with the finished melt, while too little may create a weaker scent.
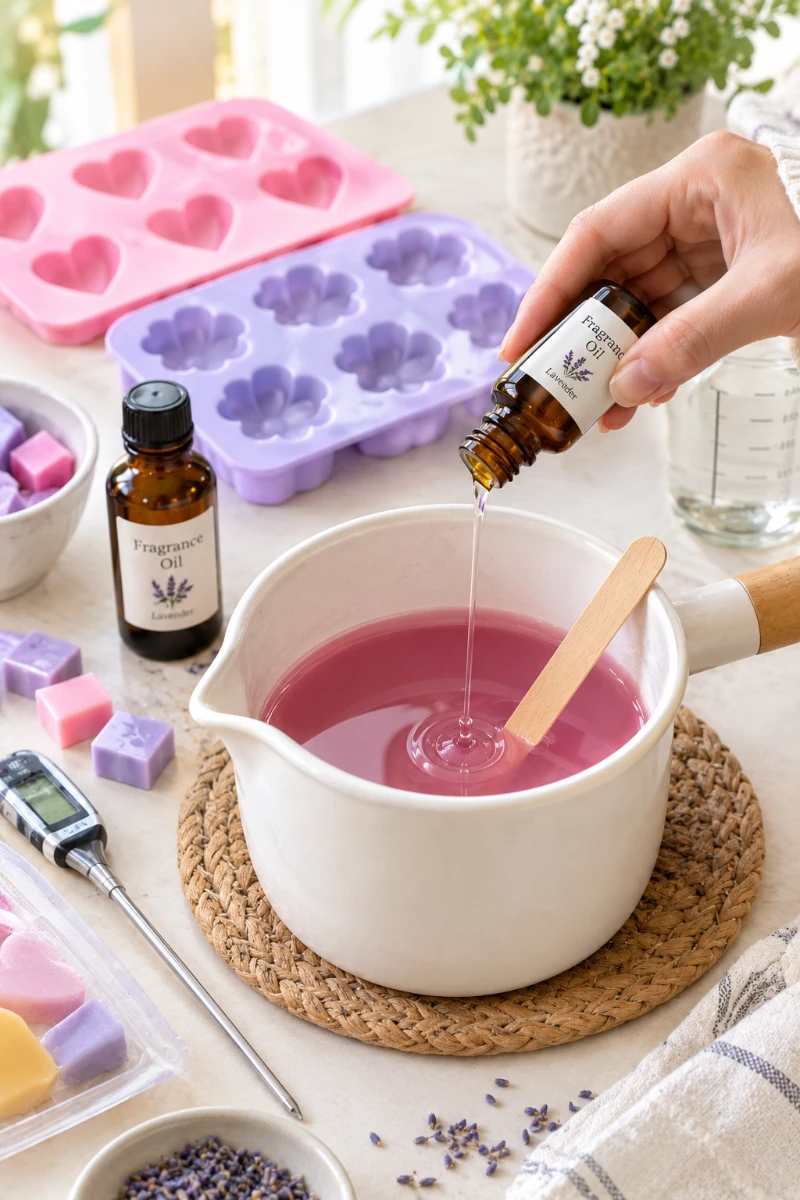
Step 5: Pour the Wax Into Molds
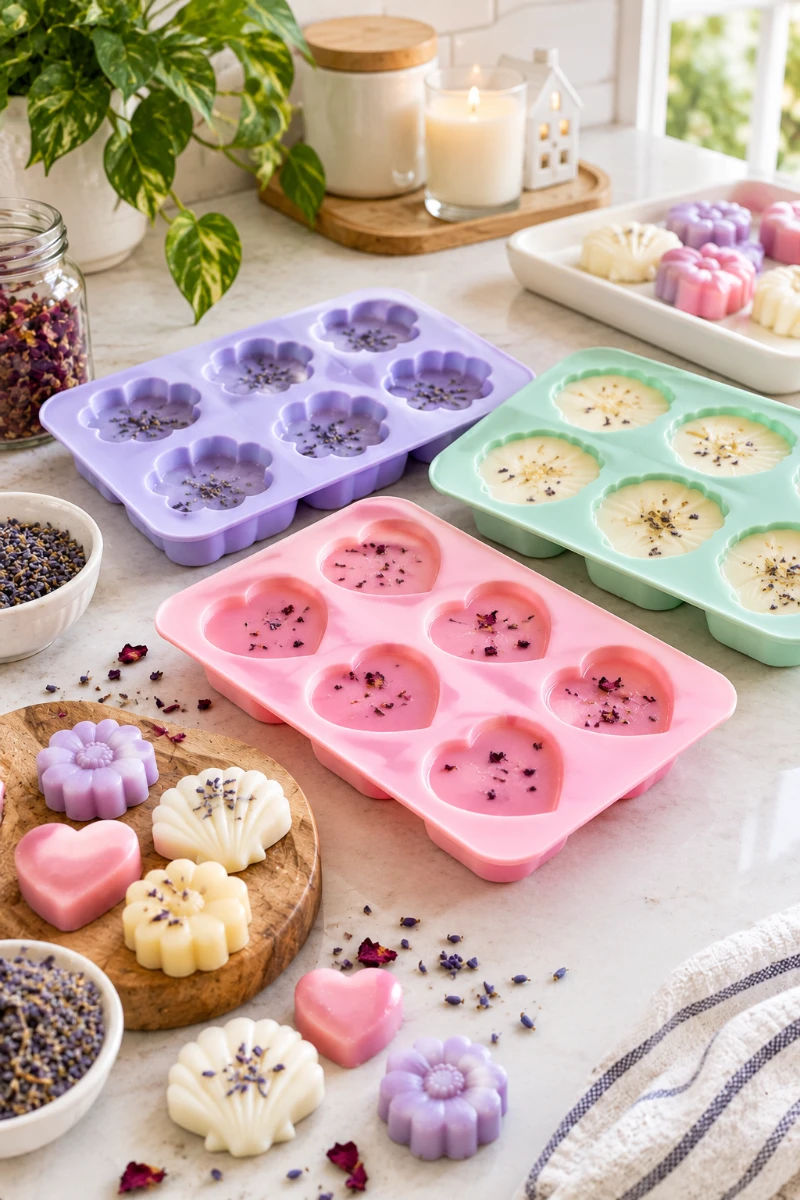
Place your silicone molds on a flat and stable surface before pouring. Slowly fill each cavity with the scented wax. Pour carefully to reduce splashes and avoid filling the cavities too high.
Leave a small amount of space at the top if your mold design needs it. Work slowly, especially with small shapes. A steady pour can help you create cleaner edges and more even wax melts.
Step 6: Let the Wax Cool
Leave the filled molds on a flat surface while the wax cools. Do not move them too much during this stage. Sudden movement can affect the smooth finish or create uneven surfaces.
Cooling time depends on the wax, mold size, room temperature, and batch size. Let the melts become fully firm before removing them. Patience can make a big difference in the final result.
Step 7: Remove the Finished Melts
When the wax has completely hardened, gently flex the silicone mold to release each melt. Start from the edges and push the melt out slowly. Do not force the wax because thin shapes can break.
Check each melt after removing it. Look for cracks, rough edges, or uneven areas. Small imperfections are normal for handmade products. With practice, you will learn how temperature and pouring technique affect the finish.
Easy Wax Melt Ideas for Beginners
Once you understand the basic method, you can make many different styles. Start with simple shapes and one color before trying detailed designs. This makes it easier to learn how your wax behaves during melting and cooling.
You can also create seasonal collections for your home. Think about fresh citrus for spring, fruity scents for summer, warm cinnamon for autumn, and cozy pine or peppermint for winter.
Simple Designs to Try
Here are some beginner-friendly ideas:
- Heart-shaped vanilla melts
- Flower-shaped lavender melts
- Lemon-colored citrus melts
- Pumpkin-shaped cinnamon melts
- Snowflake-shaped winter melts
- Coffee-colored bakery-scented melts
- Two-color layered melts
How to Create Layered Wax Melts
Layered wax melts can give simple molds a more creative look. Pour one color into the mold and let it cool enough to become stable. Then add another color slowly on top to create a clear second layer.
You can use two shades from the same color family for a soft look. For example, pale pink and white can create a simple romantic design. Let each layer cool properly so the colors stay separated.
Tips for Better Layers
Keep these tips in mind:
- Use colors that look good together.
- Pour each layer slowly.
- Let the first layer become firm enough.
- Avoid making very thin layers.
- Keep fragrance choices simple.
- Test one mold before making a full batch.
Ways to Decorate Wax Melts
You can make homemade wax melts look special without using complicated techniques. Different molds already create beautiful shapes. Color combinations, layers, and simple decorative details can add more personality.
For a clean home decor style, choose soft colors and simple shapes. For gifts, you can create seasonal colors and themed shapes. Always make sure anything added to a wax melt is suitable and safe for the intended wax warmer use.
Add Color and Shape
Color is one of the easiest ways to change the look of homemade melts. Try matching the wax color with the scent. For example, use a soft yellow for lemon or a gentle lavender shade for lavender fragrance.
Silicone molds also offer many design choices. Flowers, hearts, stars, leaves, shells, and geometric shapes can create attractive pieces. Choose molds with enough detail to make the finished wax look interesting without making removal difficult.
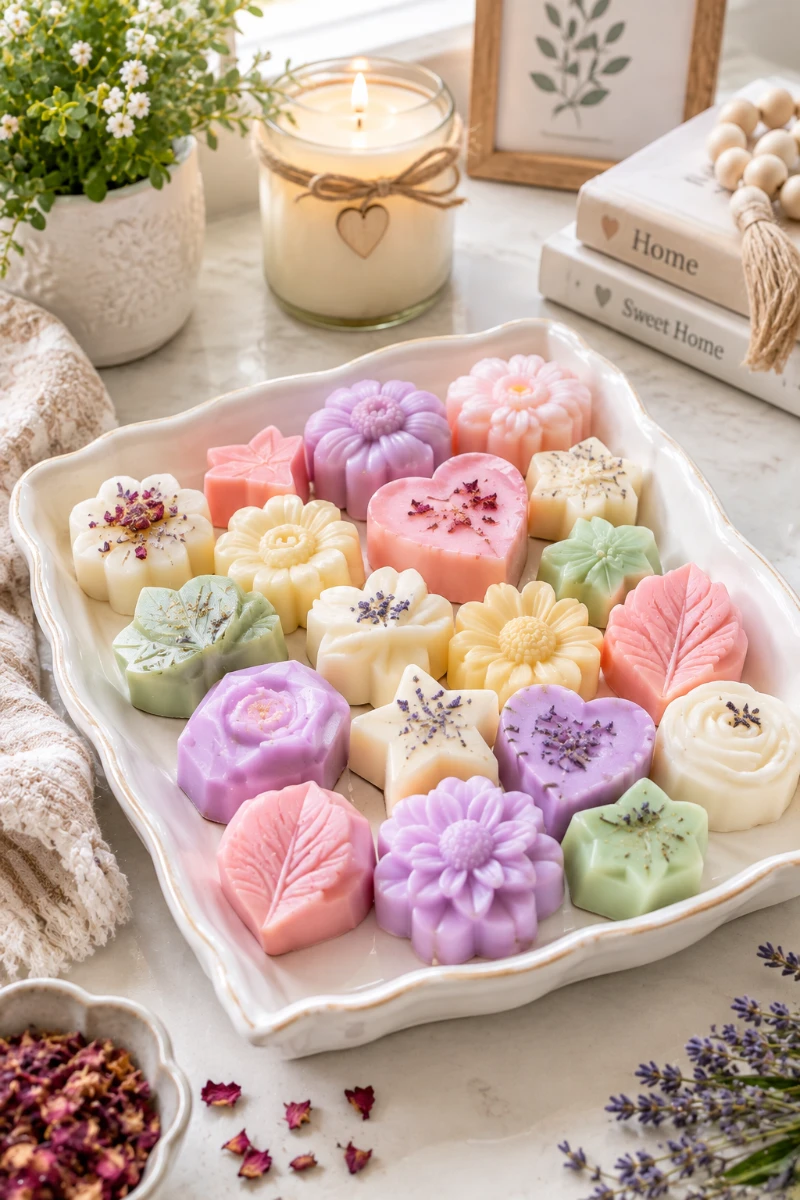
Try Simple Seasonal Themes
Seasonal wax melts can make your home feel different throughout the year. Choose colors and scents that match the season. Warm brown and orange tones can suit autumn, while soft blue and white can work well for winter.
You can also make small gift sets around holidays or special occasions. Keep the designs simple and neat. A small collection of matching melts often looks better than many unrelated colors and shapes.
How to Package Homemade Wax Melts
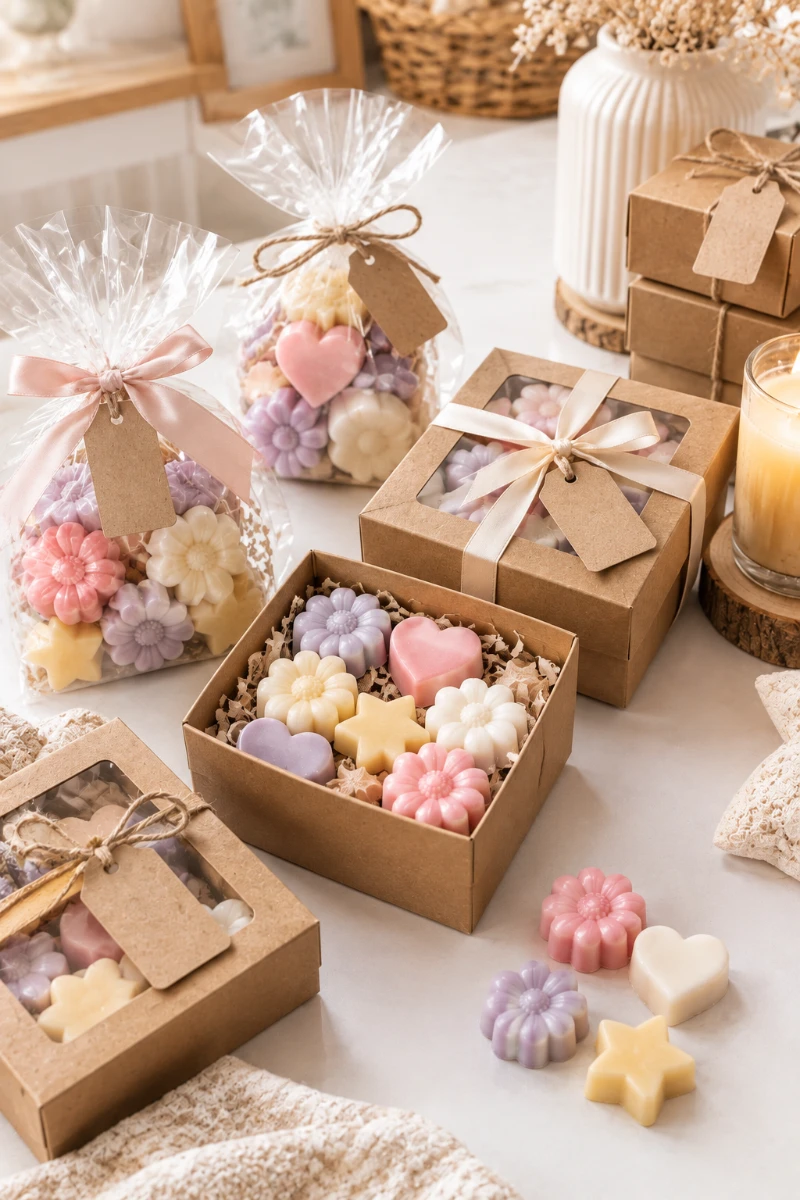
Good packaging protects your wax melts and makes them easier to store. Use suitable bags, boxes, or containers that keep the melts away from direct heat. Store finished pieces in a cool, dry place until you use them.
If you plan to give melts as gifts, add a simple label. Include the fragrance name and basic use information. A neat label can make a small handmade gift feel more complete.
Simple Packaging Ideas
Try these easy options:
- Small kraft paper boxes
- Clear bags with labels
- Small reusable containers
- Paper gift boxes
- Simple fragrance labels
- Seasonal gift tags
- Small sets with three different scents
Common Wax Melt Problems and Easy Fixes
Beginners may notice small cracks, frosting, uneven surfaces, weak scent, or difficult mold release. These problems do not mean the whole batch has failed. Wax making takes some practice, and small changes can improve your next batch.
Start by checking your wax instructions, fragrance amount, pouring temperature, and cooling conditions. Keep notes for every batch. This makes it easier to understand what worked and what needs to change.
Why Did My Wax Melts Crack?
Cracks can appear when wax cools too quickly or experiences a large temperature change. The exact cause can vary with the wax type, mold size, and room conditions. Follow the cooling instructions supplied with your wax.
Try keeping the molds on a stable surface while they cool. Avoid placing fresh melts in a very cold area unless the wax instructions recommend it. Test your cooling method with a small batch first.
Why Are My Wax Melts Soft?
Soft melts can happen when the wax has not fully cooled or when the formula does not suit the intended use. Fragrance amount can also affect the final texture, depending on the wax.
Let the melts cure or rest for the time recommended by your wax supplier. If they remain too soft, review the wax manufacturer’s instructions and your fragrance measurement before making another batch.
Why Is the Scent Too Weak?
A weak scent may come from the fragrance type, fragrance amount, wax choice, or mixing process. Make sure you use a fragrance oil designed for wax products and follow the recommended usage rate.
Give your finished melts enough time to settle before judging the scent. Keep notes about the fragrance brand, wax type, amount used, and temperature. This helps you improve future batches.
How Long Do Homemade Wax Melts Last?
The shelf life of wax melts depends on the wax, fragrance, storage conditions, and product instructions. Store them in a cool, dry place away from direct sunlight and strong heat. Proper storage helps protect their scent and appearance.
Keep your melts inside a suitable closed container or package when possible. Avoid storing them near windows, heaters, radiators, or other warm areas. Check your wax and fragrance supplier’s storage guidance for more specific information.
Best Storage Tips
For better storage:
- Keep melts away from direct sunlight.
- Avoid hot rooms.
- Use clean storage containers.
- Keep strong scents separated.
- Label different fragrances.
- Store seasonal melts until needed.
- Keep wax melts away from children and pets.
Safety Tips for Homemade Wax Melts
Wax crafting involves hot materials, so safety should always come first. Use heat-safe equipment and keep your workspace clear. Never leave melting wax unattended, and follow the instructions supplied with your wax melter or heating method.
Use only fragrance oils and colorants that are suitable for candle or wax melt making. Keep the finished melts away from children and pets. When using a wax warmer, follow the warmer manufacturer’s safety instructions.
Important Safety Reminders
Remember these basic rules:
- Never leave heated wax unattended.
- Keep hot wax away from children.
- Keep pets away from the workspace.
- Use heat-safe containers.
- Follow wax temperature instructions.
- Follow fragrance usage guidelines.
- Keep wax away from open flames.
- Use your wax warmer as directed.
- Do not add random decorative materials to melts.
Frequently Asked Questions
What Wax Is Best for Homemade Wax Melts?
Soy wax and waxes made specifically for melts are common choices for home projects. The best option depends on the product and the result you want. Always follow the manufacturer’s instructions for melting and fragrance use.
Can I Use Essential Oils in Wax Melts?
Not every essential oil works well for wax products. Use ingredients that are suitable for your intended application and follow the supplier’s guidance. Candle fragrance oils are commonly made specifically for scented wax products.
How Much Fragrance Should I Add?
Use the fragrance amount recommended by your wax and fragrance suppliers. Do not guess or assume that more fragrance creates a better melt. Too much fragrance can affect the finished product and its performance.
How Long Should Wax Melts Cool?
Cooling time depends on the wax, mold size, room temperature, and batch size. Let the melts become fully firm before removing them. Follow your wax supplier’s cooling recommendations for the best results.
Can Beginners Make Wax Melts at Home?
Yes. Wax melts can be a beginner-friendly craft when you use suitable materials and follow safety instructions. Start with a small batch, simple mold, and one fragrance so you can learn the basic process.
Final Thoughts
Learning how to make wax melts at home can be a fun and useful DIY project. You can experiment with scents, colors, shapes, and simple packaging while creating something for your own home.
Start small and keep your first designs simple. Once you understand how your wax behaves, you can try layered colors, seasonal scents, gift sets, and new mold shapes. Keep notes from each batch and use them to improve your next one.






- Be Respectful
- Stay Relevant
- Stay Positive
- True Feedback
- Encourage Discussion
- Avoid Spamming
- No Fake News
- Don't Copy-Paste
- No Personal Attacks
- Be Respectful
- Stay Relevant
- Stay Positive
- True Feedback
- Encourage Discussion
- Avoid Spamming
- No Fake News
- Don't Copy-Paste
- No Personal Attacks
